Once upon a time delivering a video file was its own job within a production house. When delivering my first advertisement for broadcast TV, I had no idea how brutal it could be.
The studio kept replying back to me “this colour is out of bounds.” Effectively telling me one specific red colour wasn’t broadcast ‘safe’ and therefore wouldn’t past quality control checks.
So I tried again.
“The colour is still OUT OF BOUNDS…” They replied in a nicer but still frustrated tone.
Once more.
“Okay, we’ll just do it from our end.” Then I never heard from them again.
Whoops…
Thankfully these days it’s so much easier to deliver a video file to an online platform such as Instagram, TikTok or YouTube that anyone can do it.
You don’t need to follow complex guidelines to a tee, or battle with grumpy people working in broadcast.
However, at the same time there are some best practices to follow when it comes to uploading your video to social media platforms.
While not overly complicated, these tips will make you a social media expert in uploading video- providing a great experience for others in your company and more importantly, your audience.
Some of these terms may initially sound complicated but I’ll do my best to explain them along the way- only focusing on the stuff that’s actually useful!
Finally, it will make people like us (the agency) very happy to see your video displayed in the best way possible.
In this article, I’ll focus on YouTube specifically and then follow up with a detailed look into Instagram and TikTok really soon!
YouTube Settings
When it comes to uploading videos to YouTube, it’s probably the easiest of all the platforms. However, that doesn’t mean there aren’t things to be aware of.
Personally, I’ve been uploading videos to YouTube for the last 15 years and amassed a small audience on my channel, I’ve made a wide range of mistakes which have taught me best practice when it comes to uploading my work.
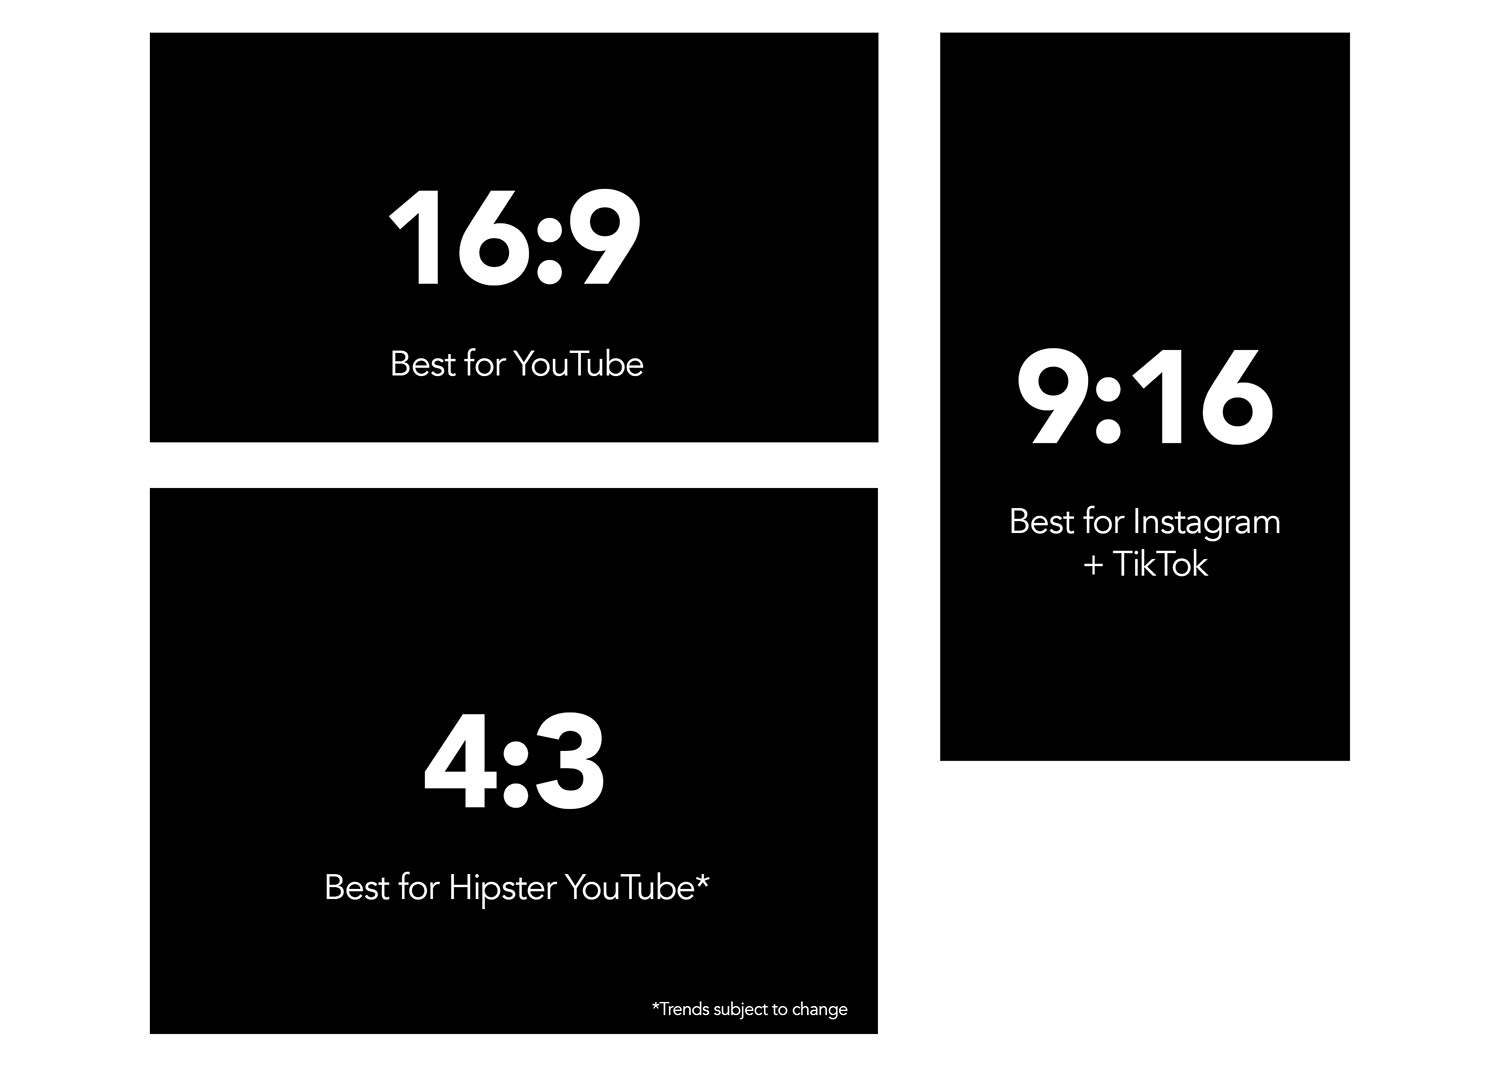
Long-form YouTube content (not Shorts) are best uploaded in a 16:9 aspect ratio which is landscape, not portrait. You can play around with this if you’re more advance and the player will automatically compensate in size (hipster YouTube loves 4:3, or more squarish at the moment). However, for maximum reach on long-form content, keep it widescreen, not portrait.
 In terms of encoding, which is the process of exporting your video from the editing software, YouTube still prefers H.264 in a .MP4 format not H.265. It also prefers videos to be in 4K resolution for converting your video at the maximum quality.
You may see it written as 4K or UHD (Ultra High Definition), both are correct for the sake of this topic.
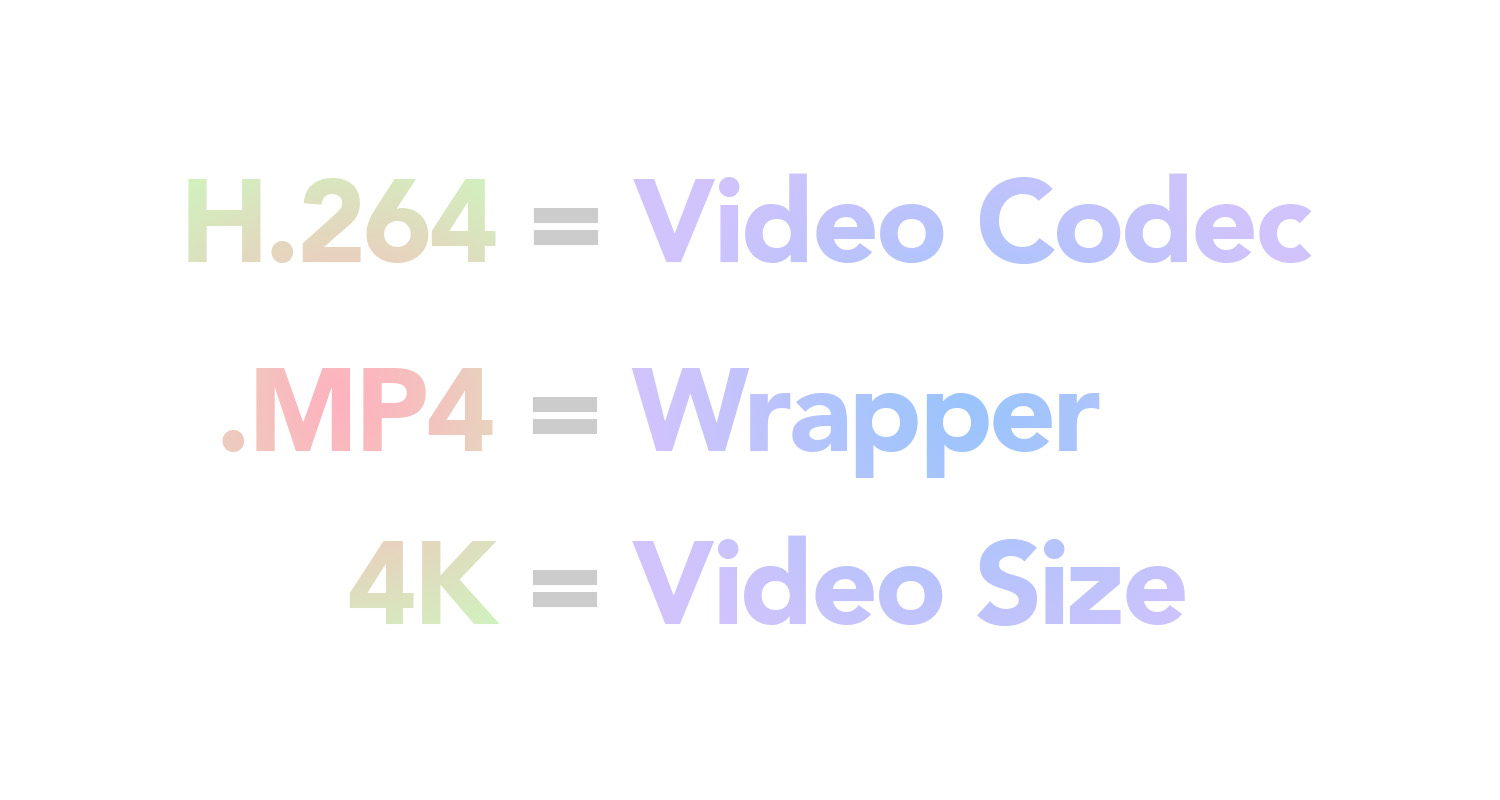 If these numbers mean nothing to you and you don’t see these options in your editing software (especially if you’re editing on a phone), do not fear! My advice would be to first upload your video privately and see how it looks.
The worst case is your video looks a little blurry and not crisp like your other favourite YouTubers. Play around with your export settings to find what provides you the best results for your content.
Production Tips
Another very interesting point here is that YouTube (and most other platforms) prefer light scenes compared to dark scenes. Obviously, if your video is filmed at night, that’s totally fine. But if you’re creating a space specifically to film YouTube videos, try to make it as bright as possible without being overly flat. The more areas of darkness you have will often become a blobby mess when uploaded.
Sadly, that’s just video compression for you, which is the process of making the file more efficient for people to stream on the other side. YouTube automatically blocks these darker areas into more limited colours to save data but it also makes everything appear quite muddy and lower quality too.
Copyrighted Content
Unlike its short-form friends Instagram and TikTok, YouTube does not take kindly to using copyright music or videos in your work.
This is most likely due to the YouTube Partnership Program paying out substantially more than other platforms to its creators.
It gets quite complicated but licensing a standard music track requires royalties to be paid to the label, artist and contributors.
Therefore without proper permission, YouTube will most likely limit your video’s reach if you upload content with a copyright music track underneath, or try to utilise clips from well-known movies or TV shows.
There are of course exceptions depending on the type of content, but in terms of music it’s best to use royalty-free music which can be found on a wide range of sites including YouTube itself (search ‘YouTube Audio Library’).
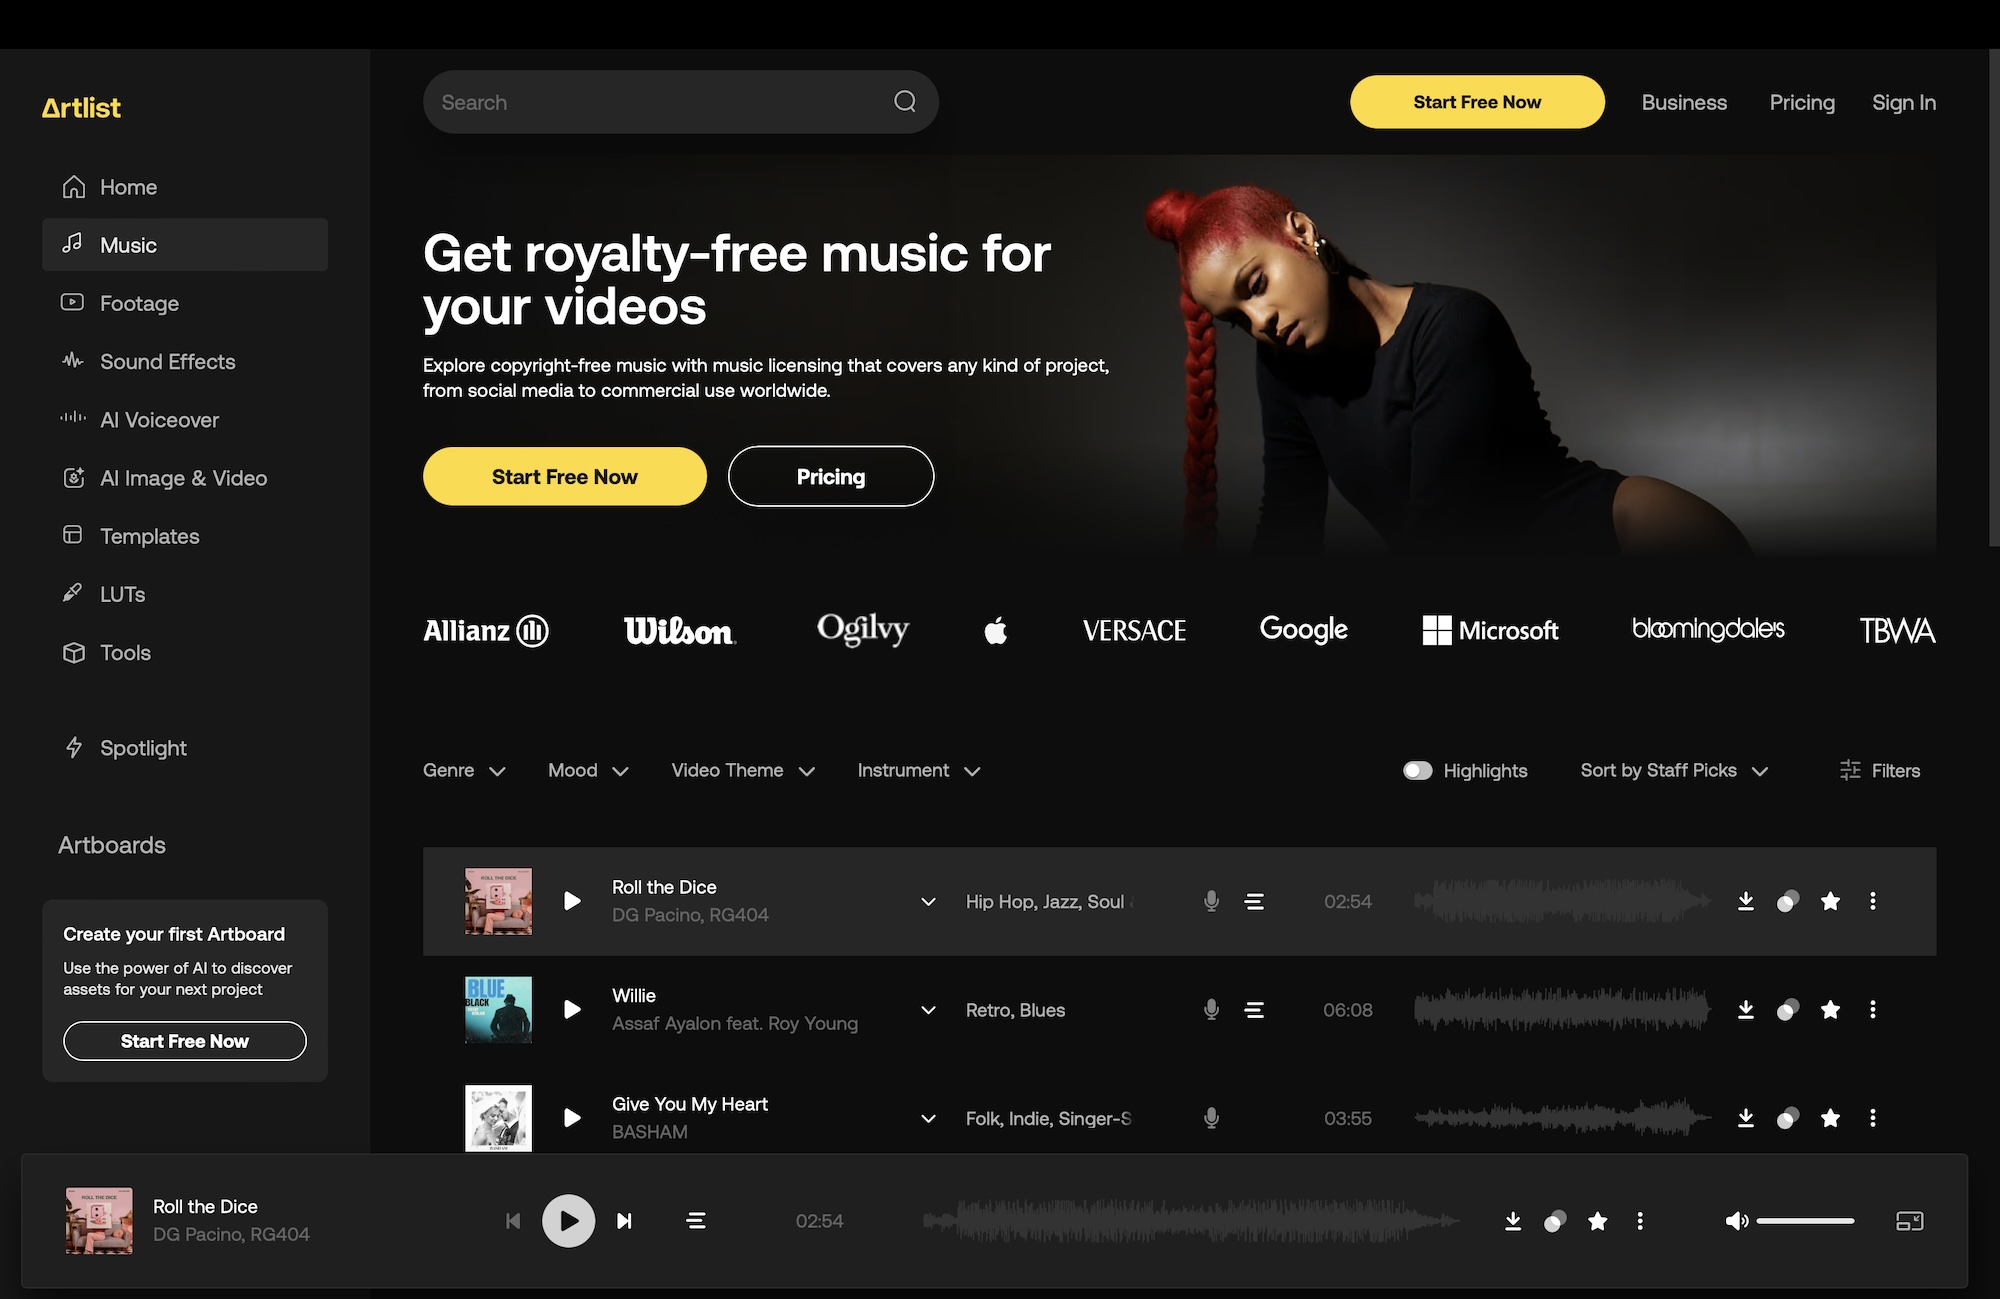
While usually not as recognisable as well-known tracks this will save your channel from copyright strikes and ensure your content is seen by the most amount of people.
Titles + Thumbnail
Unlike short-form platforms, YouTube users find videos from their homepage or by related video links in the sidebar while watching content.
This makes titles and thumbnails incredibly important for discovery. As many creators will tell you, a good title and thumbnail could make the difference between many thousands of views.
When done right, this invites interest from your target audience without being too click-baity. Some YouTubers will often play the title and thumbnail off each other- making claims in the title and then further expand upon this in the thumbnail.

For companies, that often means incorporating brand elements into the thumbnail without making it feel salesy and still being platform native. Because YouTube is overly saturated, having distinct visual elements can be beneficial for audiences to help identify your content.
At the same time, remember your thumbnail will appear quite small, especially on phone screens. Plus the bottom corner will overlay the duration of the video. Therefore it’s important to make sure your text is large, clear and the overall design isn’t too busy.
Finally, no matter how good your title and thumbnail are, people will flock to content that is both interesting and novel. That is a topic for another article but remember good packaging will not save a bad video!
Closed Captions
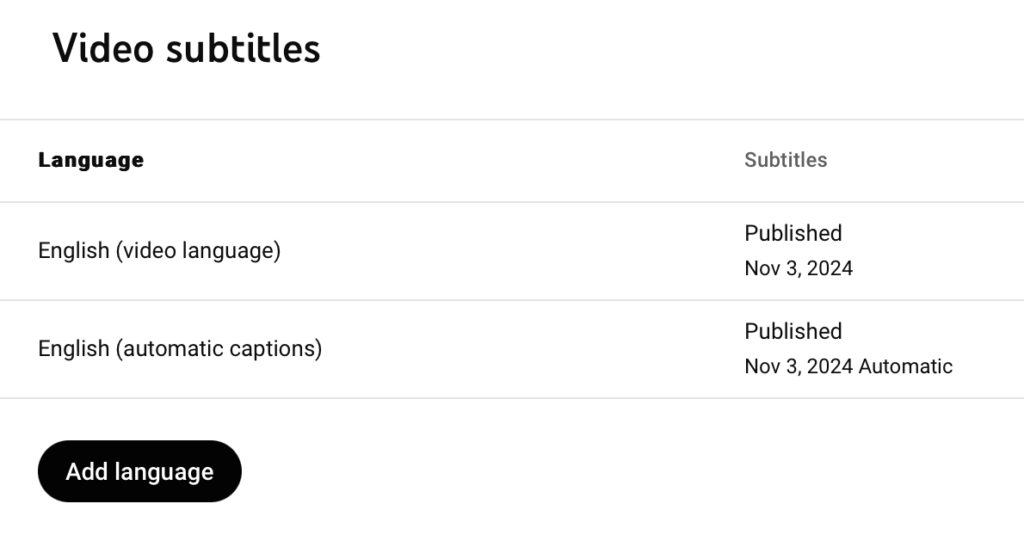
YouTube supports Closed Captions and benefits videos which provide them.
If you’re editing for Instagram and TikTok, you’re likely used to putting captions on the video itself. But YouTube would prefer you supply this as a seperate file which users can then choose to enable.
Most professional editing software will let you export what’s known as a .SRT file (subtitle file) which can then be uploaded with your video. There are also web services (paid) which will do this for you too.
Thankfully most editing software these days can use AI to automatically create the captions from your speech. You then need to do a pass to make sure everything is correct before exporting out (AI can have some strange interpretations of words). However, it saves SO MUCH time compared to writing them manually.
This is of course an optional extra step but it means your video will be rewarded by the algorithm. Because while YouTube does generate captions automatically on videos, it’s likely to not be as accurate as something you provide.
Plus it also benefits those with accessibility needs too, ensuring they still get the same level of information.
If you want to go crazy with it, you can also use AI to translate your subtitle file into different languages and upload these too. This will give your video much further reach, but it’s likely only worth it if the content is relevant to an international audience.
 CONCLUSION
Hopefully these tips will help you to achieve the best result possible when uploading to YouTube.
As mentioned in the article, your best friend here is to experiment. I often see YouTuber’s changing their thumbnail and titles after publishing, when their videos aren’t performing. It’s become a very normal practice.
However, if you’ve found yourself here after an upload which hasn’t turned out as planned, my best advice is to keep moving forward and focus on the next video.
I uploaded one last year which I was really proud of, but accidentally exported it in HD, not 4K. Plus it was H.265, which YouTube didn’t handle well. The result was a muddy looking image that was dejecting to see. Especially as someone who’s in the video-production niche!
However, very rarely does one video make all the difference. Remember, these platforms reward quantity, not quality and the value of your video is not defined by its technical quality.
So keep working on your next idea, dial in your workflows and find that audience who will fall in love with what you do.
It might seem impossible at first but like anything, it just takes time and practice.
Disclaimer
None of these articles are written or assisted by AI. I really enjoy the process of writing (I’m now up to 1.5 million words in my own personal writings) and am happy to spend the time to crafting these guides. Please let me know if you have any feedback or would like me to cover something in a future article.
Thanks to my friends and family for their continued support in my dreams. It makes all the difference.
Much Love,
Matt.
Creative Director @ On Q Media.


